Organization and Team Settings
Organizations in Appcircle are separate units with separate "workspaces" that allow collaboration on the same apps with a team.
Each user is the owner of their individual organization by default. You can create additional organizations as needed or join an existing one.
All apps (build profiles, distribution profiles, etc.) created under an organization is accessible by all the members of that organization.
Billing management is also per-organization basis so that you can work with different plans with a single account. (e.g. You can be a member of two different organizations at the same time: an individual organization for personal projects under the free plan and another organization for your company under the enterprise plan.)
Team management with fine-grained roles and integration with enterprise identity systems are available in the enterprise plan. Please contact us for more information.
Accessing the My Organization Screen
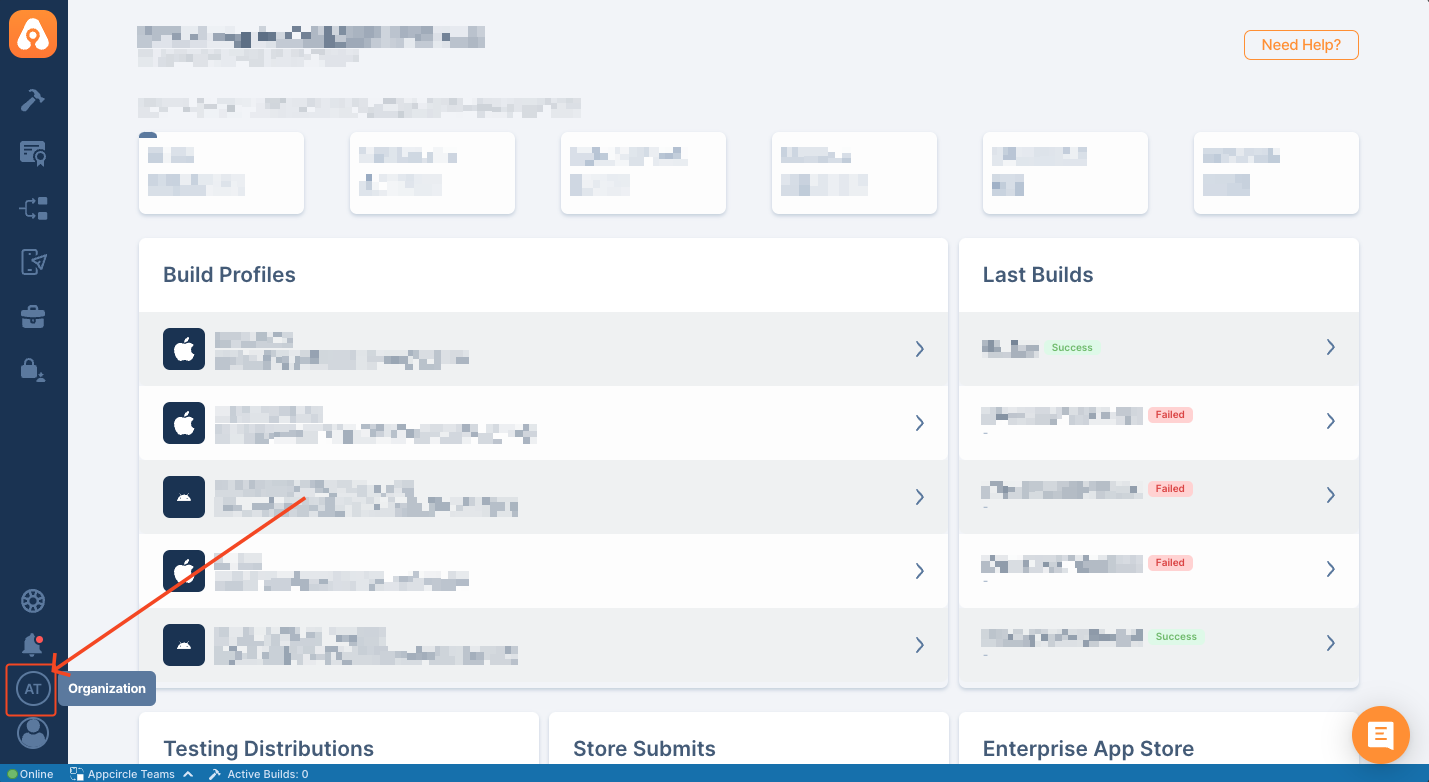
The "My Organization" screen is accessible from the button with the organization name initials at the bottom left and it contains all operations to manage an organization.
Organization Name and ID Management
When you create an account, an individual organization for you is created by default with your email address.
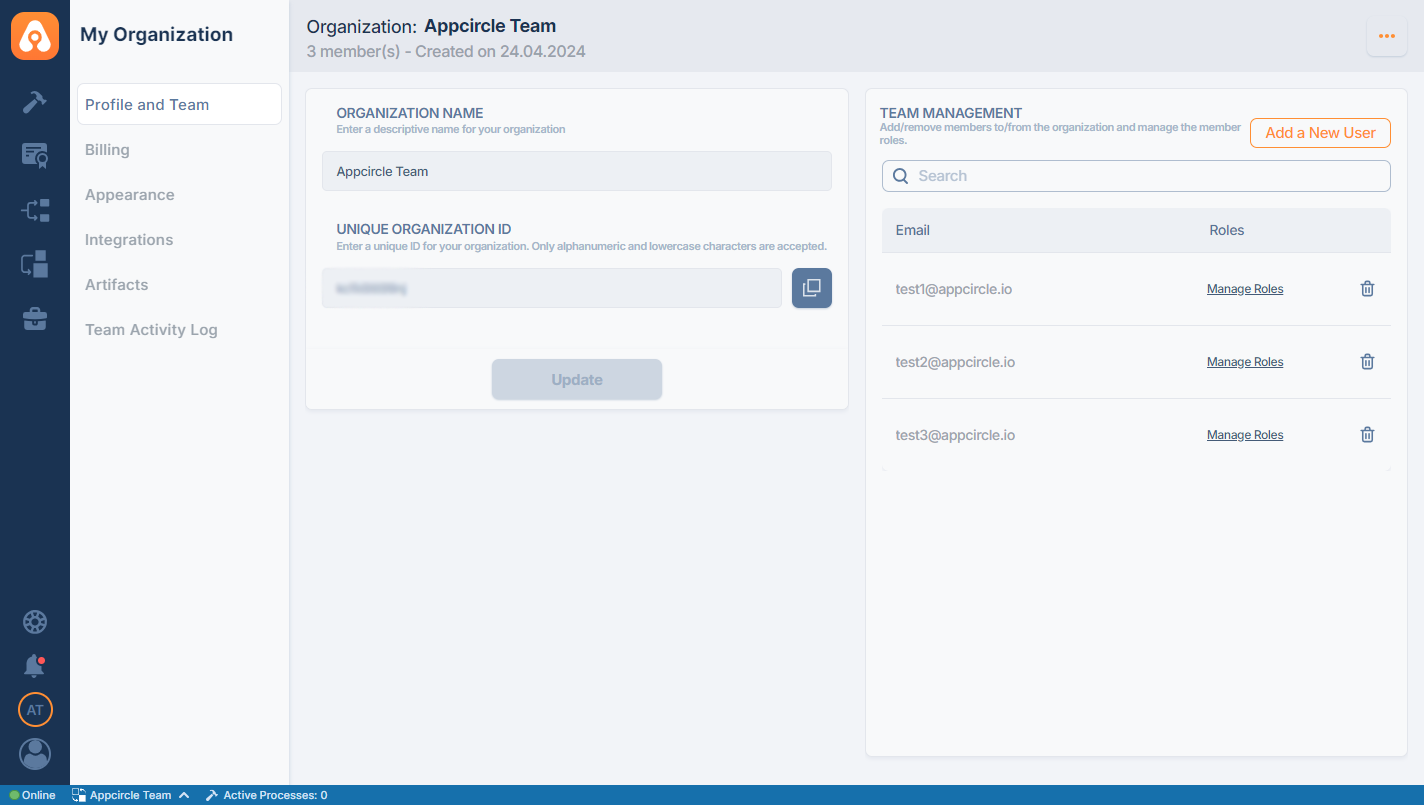
In the left column under the organization management screen, you can change your organization name, which is a descriptive name, and you can change your unique organization ID, which is used for identification purposes for that specific organization.
To update these details, simply enter the new values and press Update.
Working with Multiple Organizations
Adding an Organization
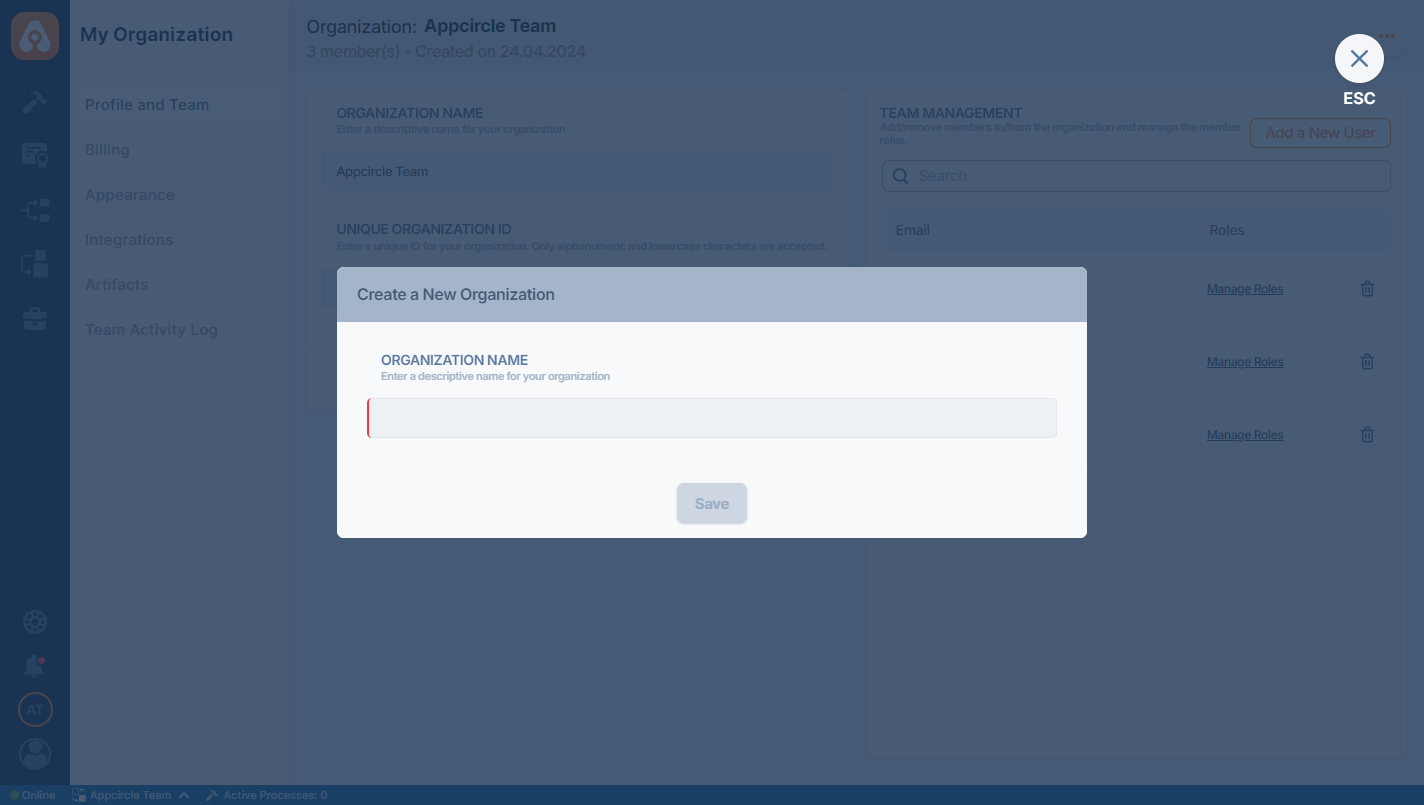
To add a new organization, press the "Create New Organization" button on the top-right (denoted by a plus sign) and type in the Organization Name. The organization will be created with the specified name and your role will be set as the owner.
If you are on the Starter Plan, you cannot add a new organization. To create more organizations, you need to upgrade to a higher plan.
Adding a Sub Organization
Appcircle's Sub-Organization feature allows you to create multiple sub-organizations from your organization, providing a way to manage different teams and projects separately. With this feature, each sub-organization is linked to the organization.
It's worth noting that sub organizations are very similar to the organization. When you are inside a sub organization, you will have access to all the features and functionality that are available in your organization. Any licenses associated with the organization will also be applicable to the sub organization.
To use this feature, an enterprise license is required.
If you add a user to the sub-organization who already exists in the main organization, all the permissions assigned to that user in the main organization will automatically extend to the sub-organization as well.
It's worth noting that sub-organizations are very similar to the organization. When you are inside a sub-organization, you will have access to all the features and functionality that are available in your organization. Additionally, any licenses associated with the organization will also be applicable to the sub-organization.
Please note that an Enterprise License is required to use this feature.
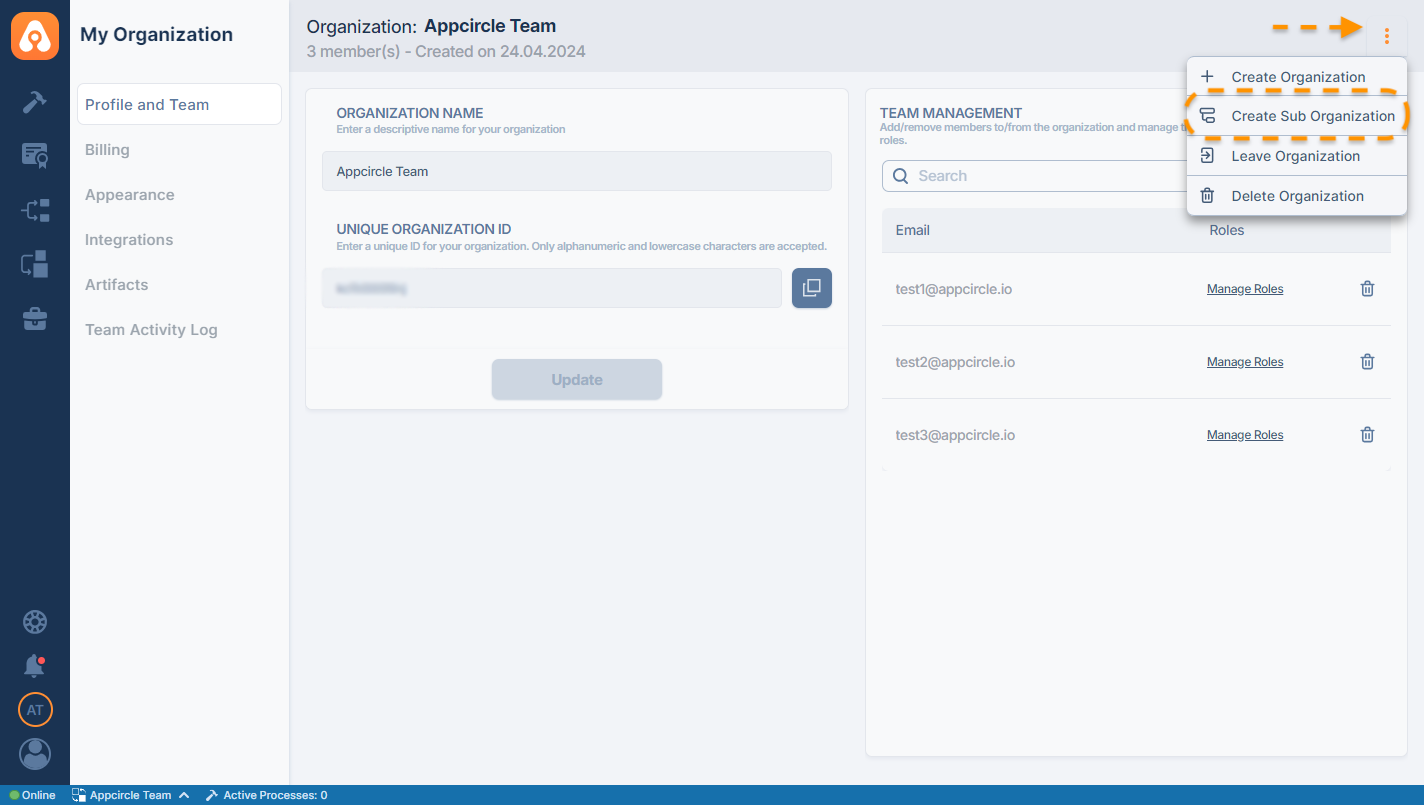
If you have an enterprise license, you can create sub-organizations from the organization by navigating to the "My Organization" page, clicking on the Create Sub Organization button, and entering the necessary details for the sub-organization.
Multiple sub-organizations can be created from an organization as required. This feature is particularly useful for businesses with multiple teams working on different projects, providing a way to manage each team's access to Appcircle separately. With the Sub-Organization feature, businesses can create and manage multiple sub-organizations linked to the organization, giving different teams access to the tools they need to work on their specific projects.
Switching Organizations
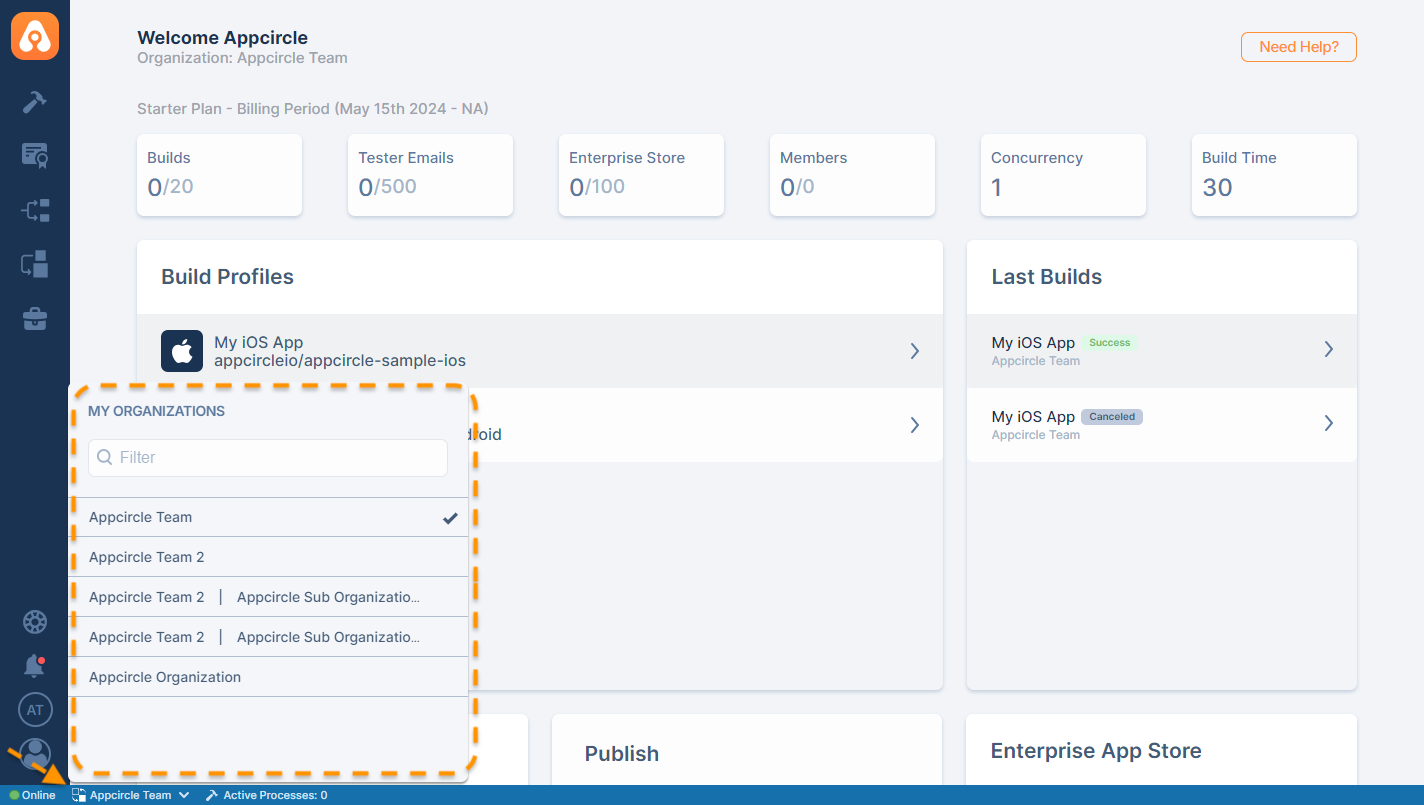
Once you create an organization or accept an organization invite, you will be switched to that organization automatically. To switch between organizations, press the quick team switching button on the bottom-left on status bar and select an organization from the menu. The currently selected one is indicated with a check mark.
Each organization is isolated from each other, and switching means that you will switch to the "workspace" of that organization.
Once you select your organization, you will only see the profiles, artifacts, and reports belonging to that organization in all modules.
You can switch between organizations at any time without any data loss.
To switch between organizations or sub organizations, follow these steps:
- Locate the Organization Switch Button:
- Find the button displaying the name of your current organization at the bottom of your screen.
- Press the Organization Switch Button:
- Click this button to display a list of available organizations and sub-organizations you are part of.
- Select the Desired Organization:
- From the list, choose the organization or sub-organization you want to switch to.
- Membership Requirement: You will only be able to view and switch to organizations that you are a member of. Organizations that you are not a member of will not be visible in the list.
By following these steps, you can seamlessly navigate between different organizations within your account.
Leaving or Deleting an Organization
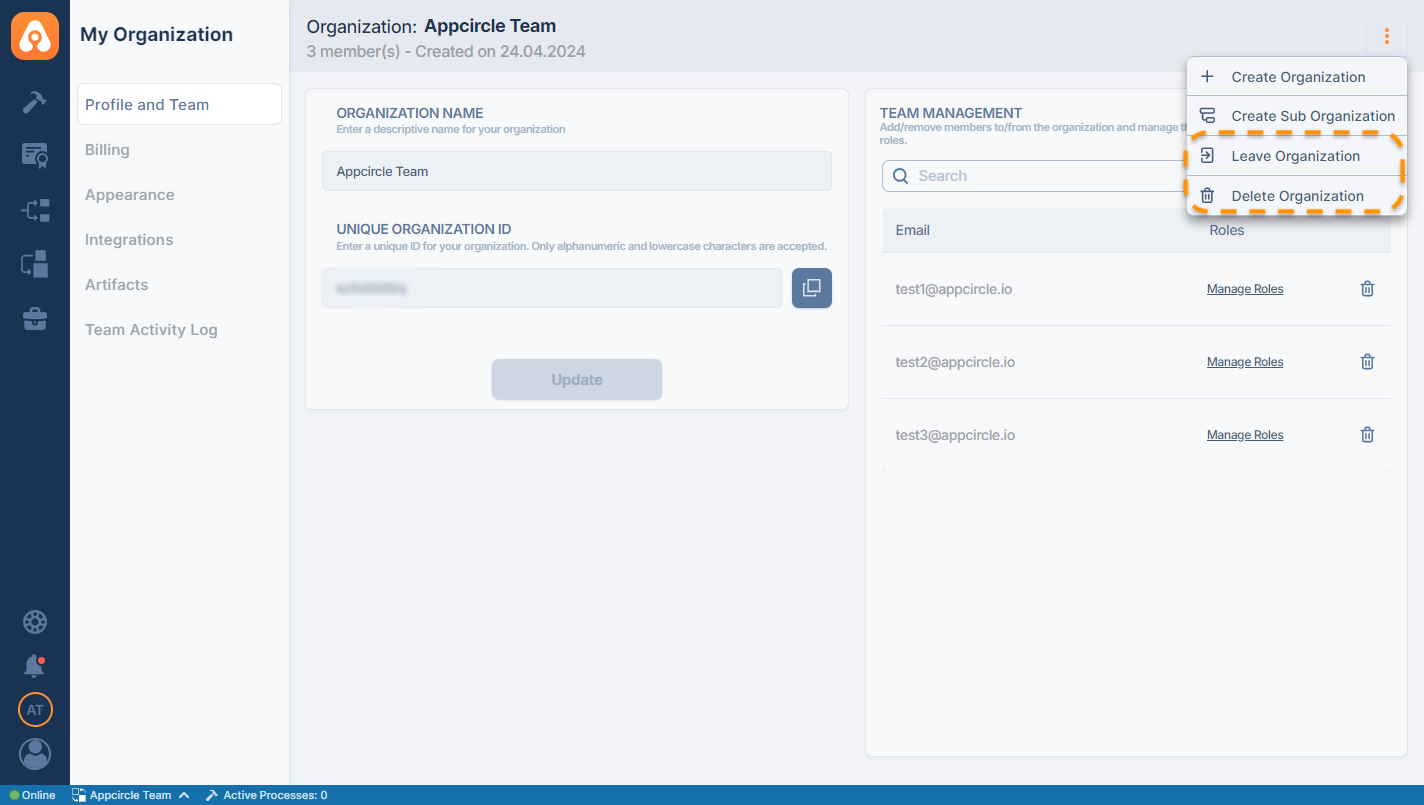
To leave or delete an organization, press the organization operations button on the top-right (three-dots menu) and select the related operation.
You will be prompted before the leave/delete operation.
Both leaving and deleting are irreversible operations and it is advised to use them with caution:
- If you leave an organization, only an Owner can add you back, even if you were an Owner.
- If you delete an organization, you will lose ALL platform data including apps, profiles, and artifacts.
Managing the Team Under an Organization
Team Ownership
The creator of a team starts with the Owner role. The Owner role has full administrative privileges for the team and organization management such as adding/removing members or editing the organization details, while any new members can be assigned specific module-based read/write roles.
Each organization must have at least one Owner and each user must be an Owner of at least one organization.
Managing Team Members
As an Owner, you can invite new members simply by entering their email address under the related field in Team Management and pressing the Add button.
The user will be then shown in a "Pending" state until the invitation is accepted. You can also revoke a pending invite by pressing the delete button at the end of the row.
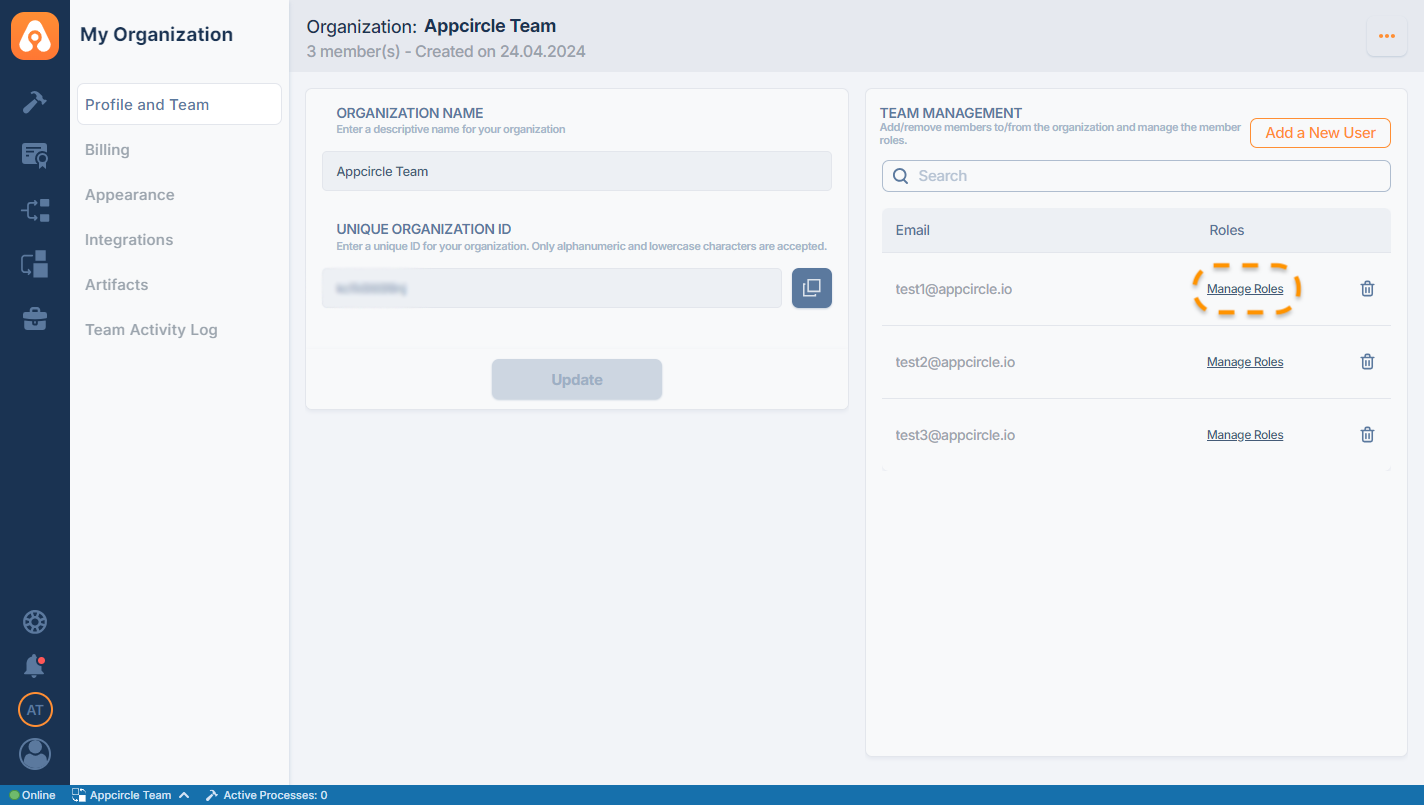
Once a user accepts an invite, it will be added to the team as a Member with read only access. You can change the role of any user, including yourself, with the "Manage Roles" button next to the user ID. You can also delete a user by pressing the delete button.
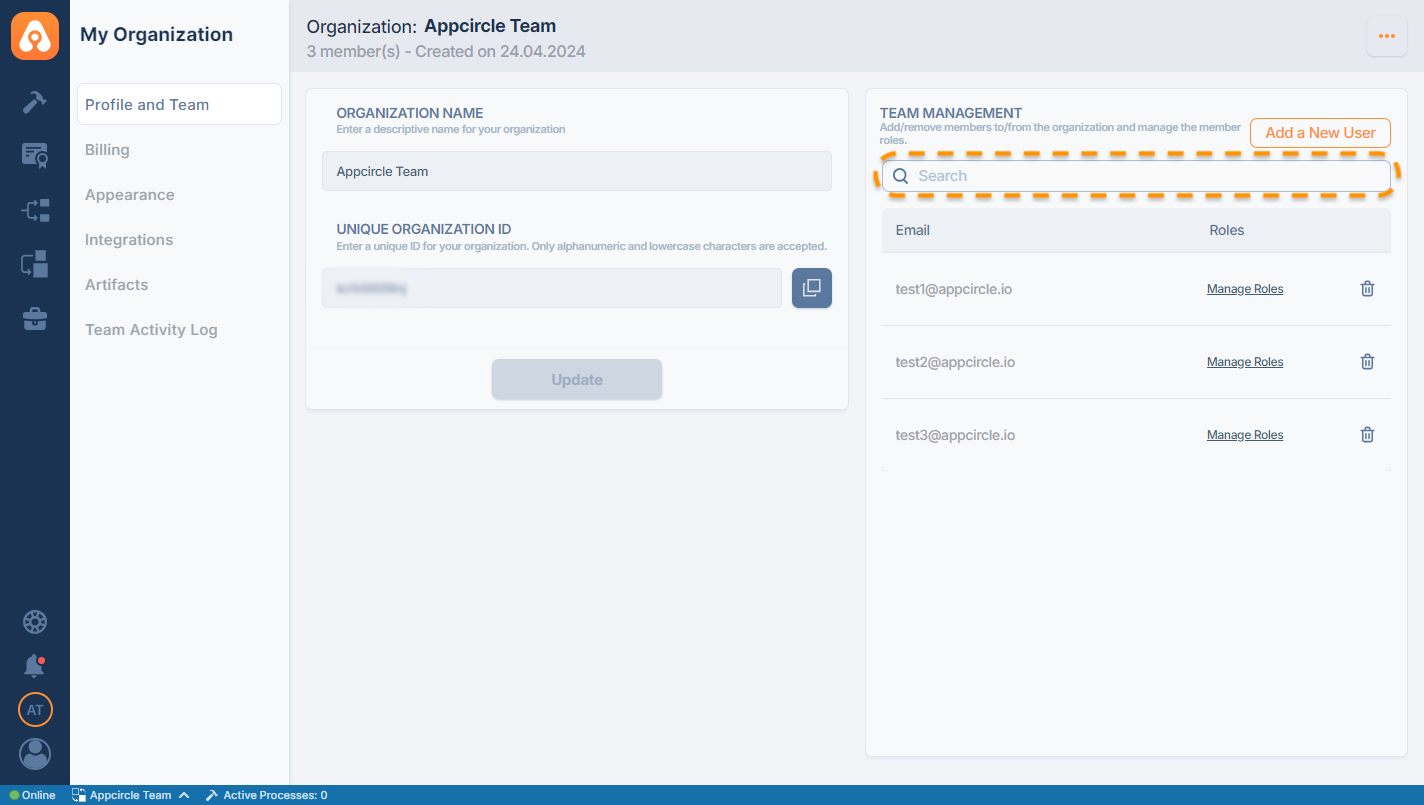
The search bar within the Team Management area allows you to efficiently manage and locate organization members by searching their email addresses to enhance visibility and streamline the management of both current and newly invited members.
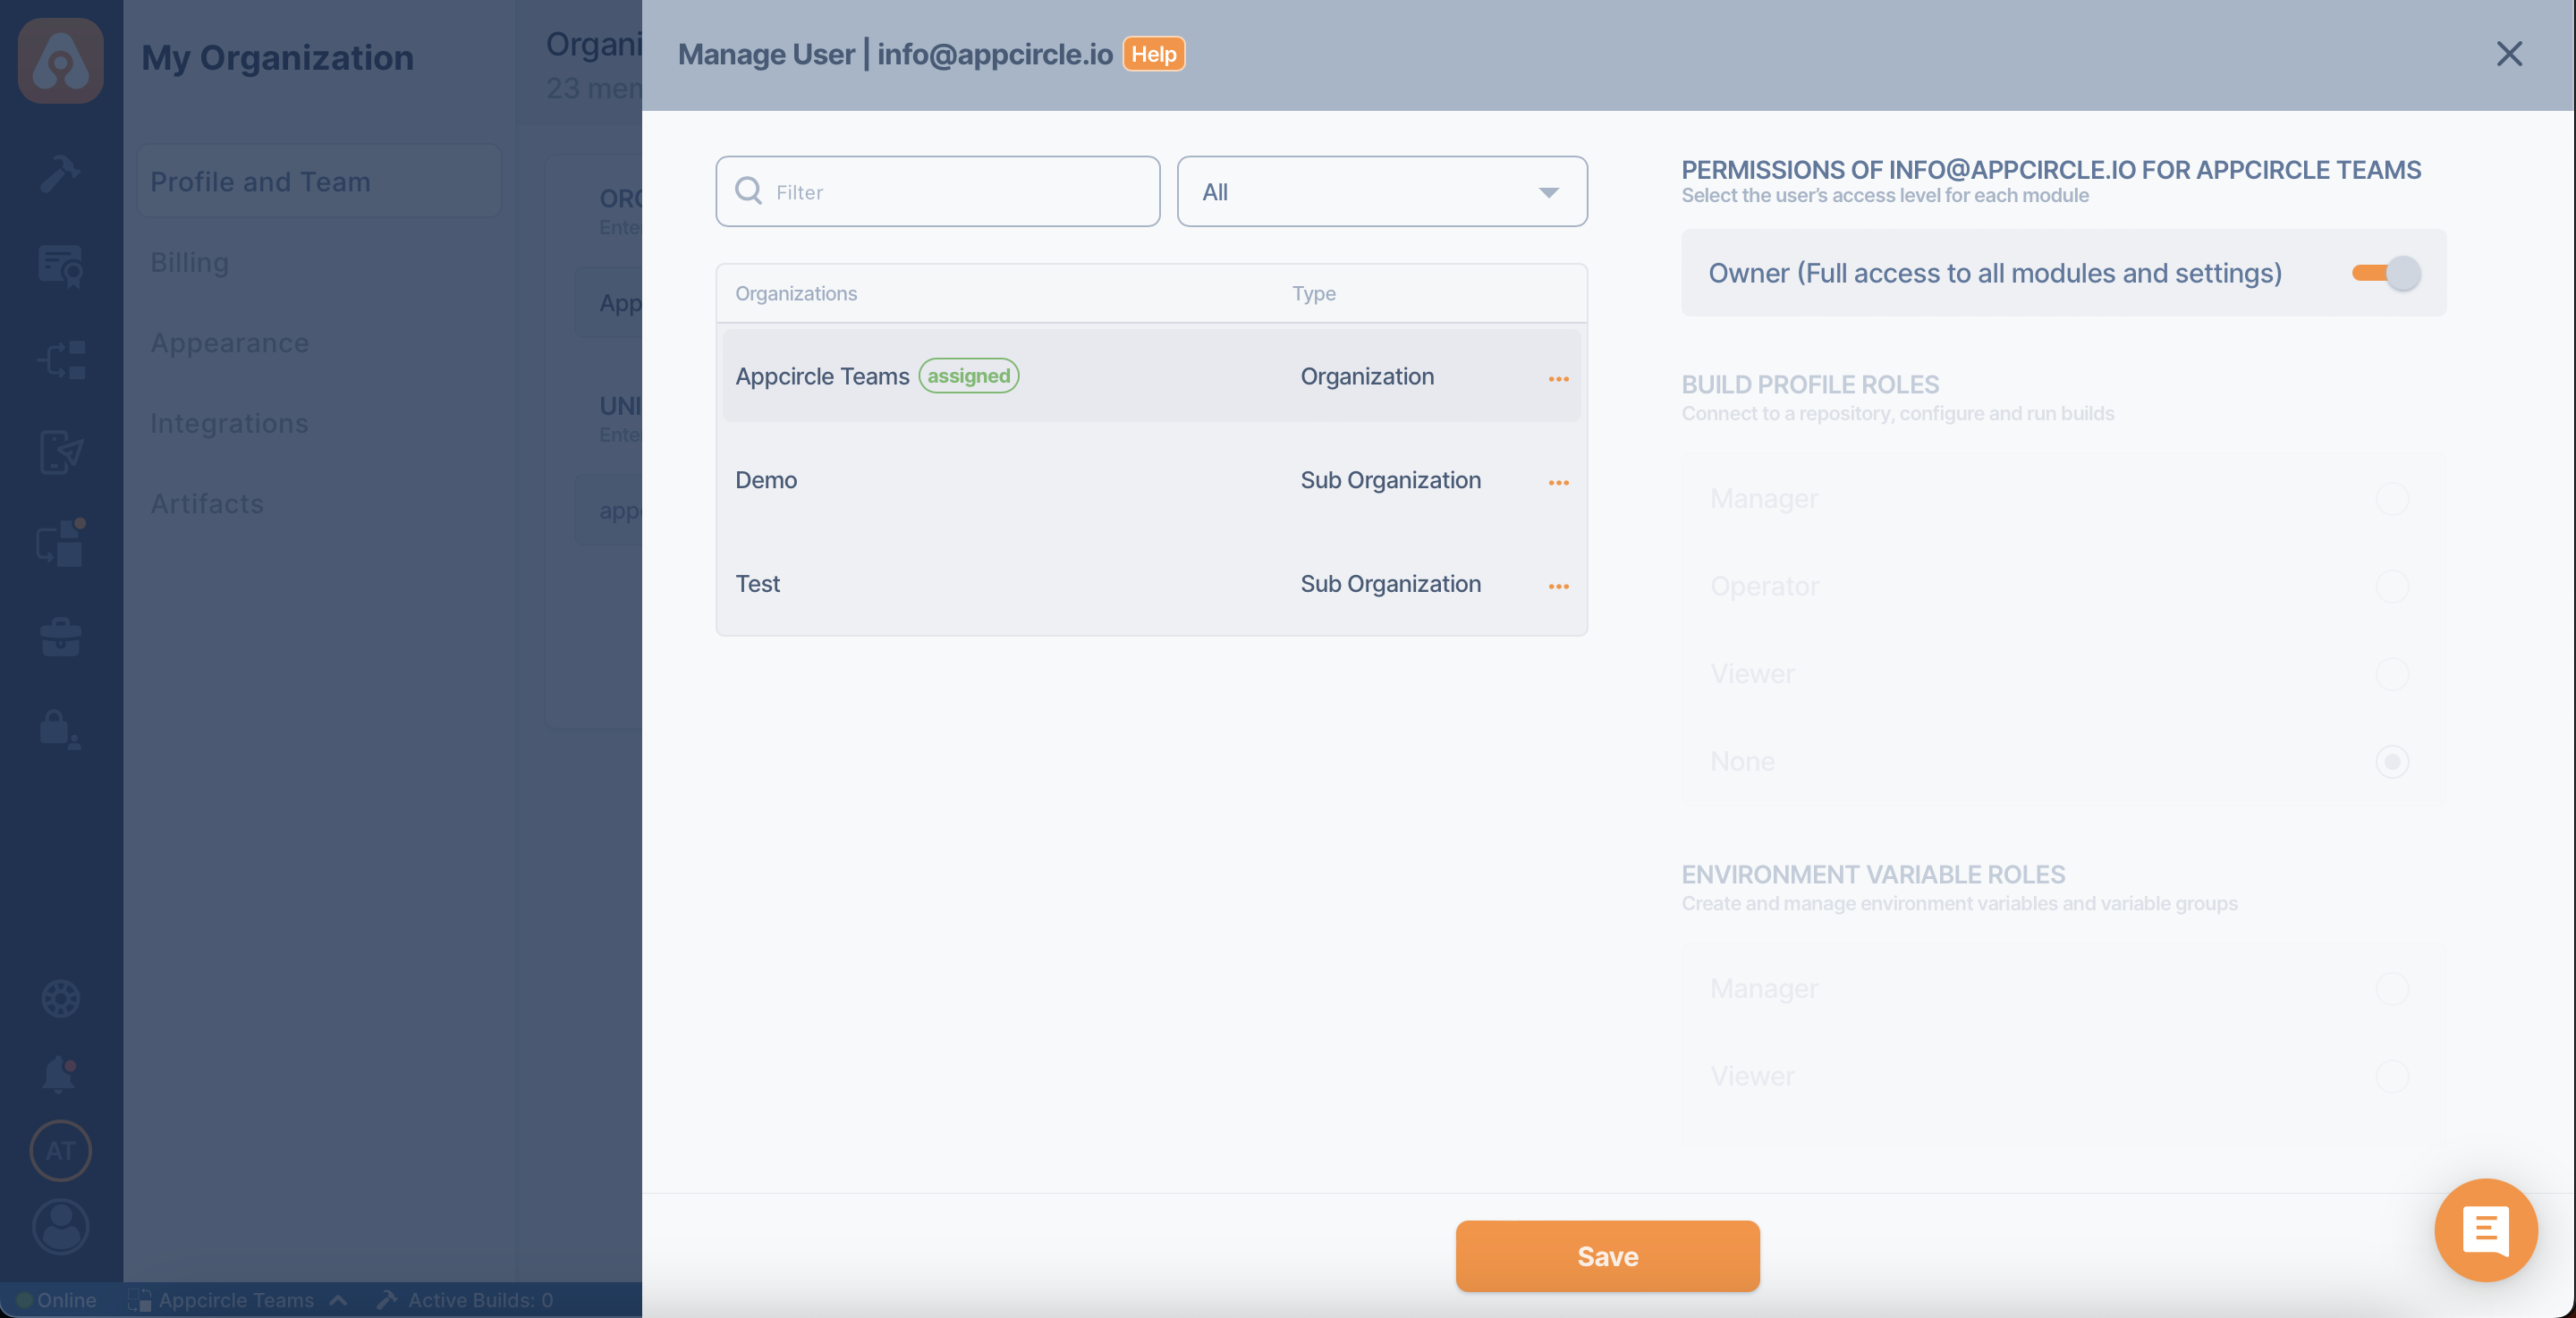
Advanced Role Management
Once you click the "Manage Roles" button, you will be presented with a detailed selection of roles for each module.
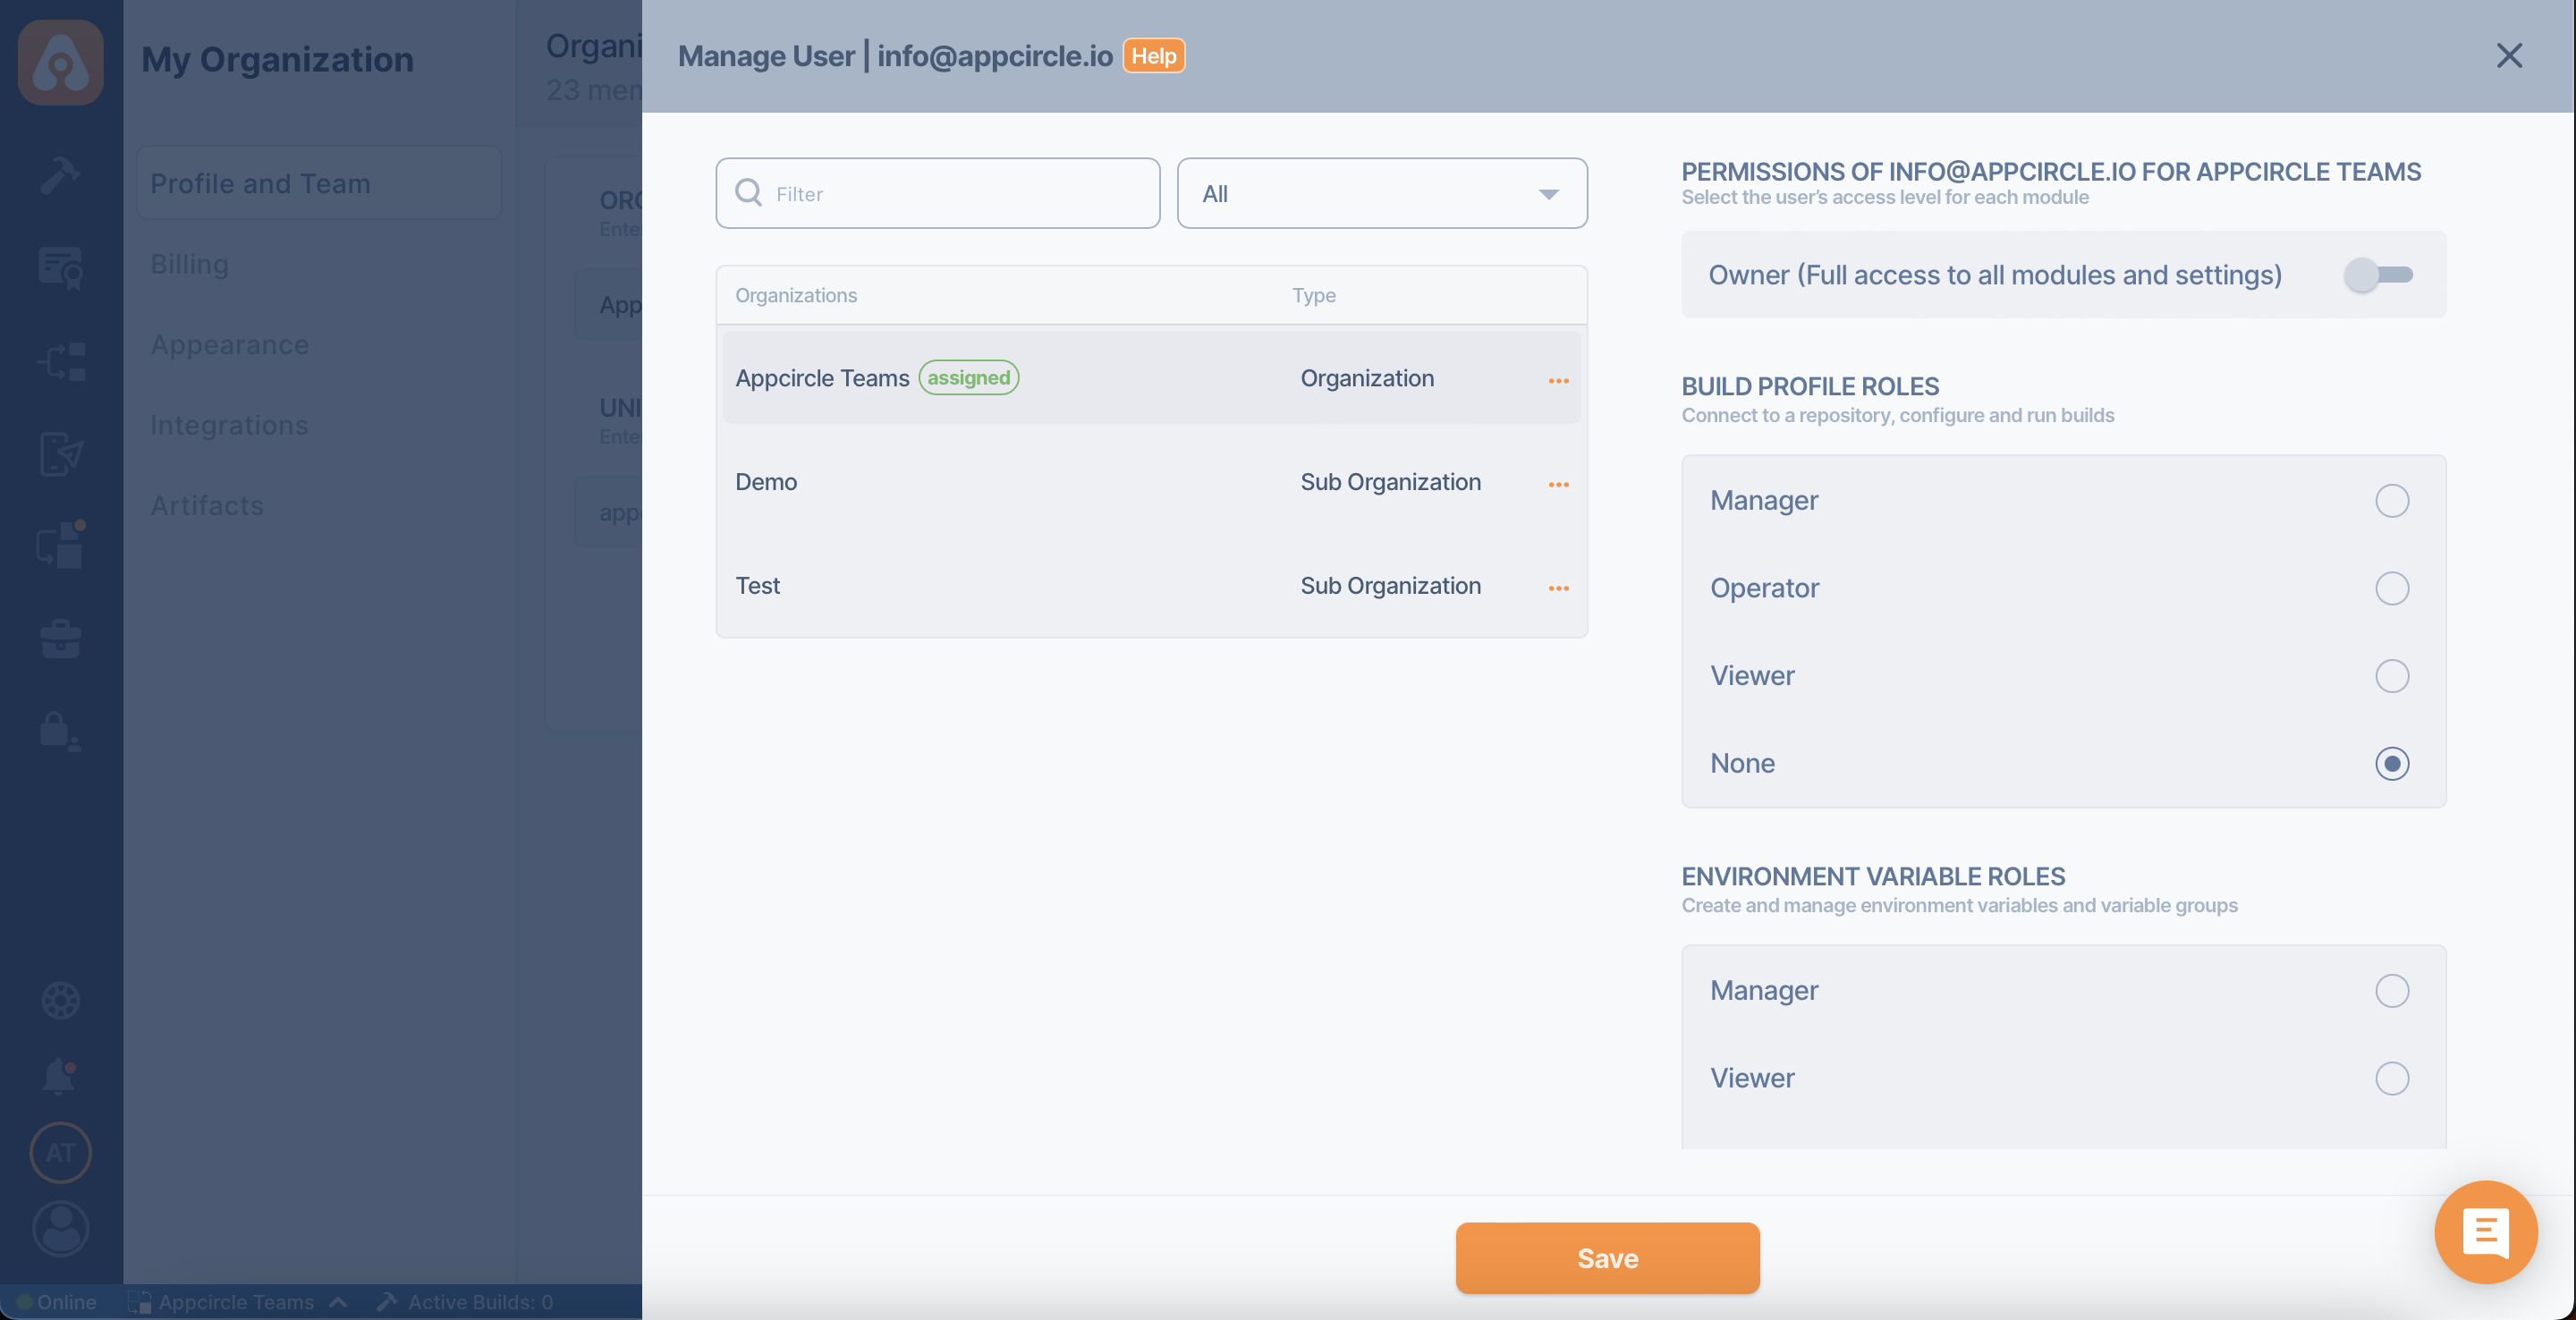
Here, you can assign the Owner role to a user for full access or you can select specific read or write roles for use cases like developers or testers or billing administrators.
The "None" is a special type of permission that denotes that a user has no defined role or special permissions. If the user's permission is set to "None" in sub-organizations, the user's permission defaults from the organization.
For more information on the roles and permissions, please refer to the:
Role Management